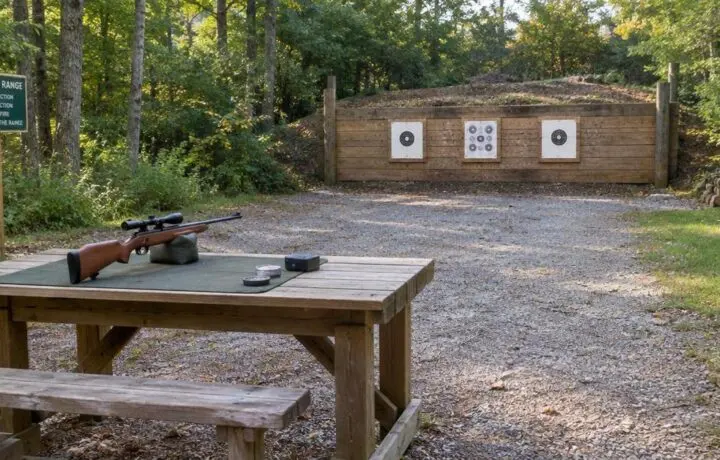
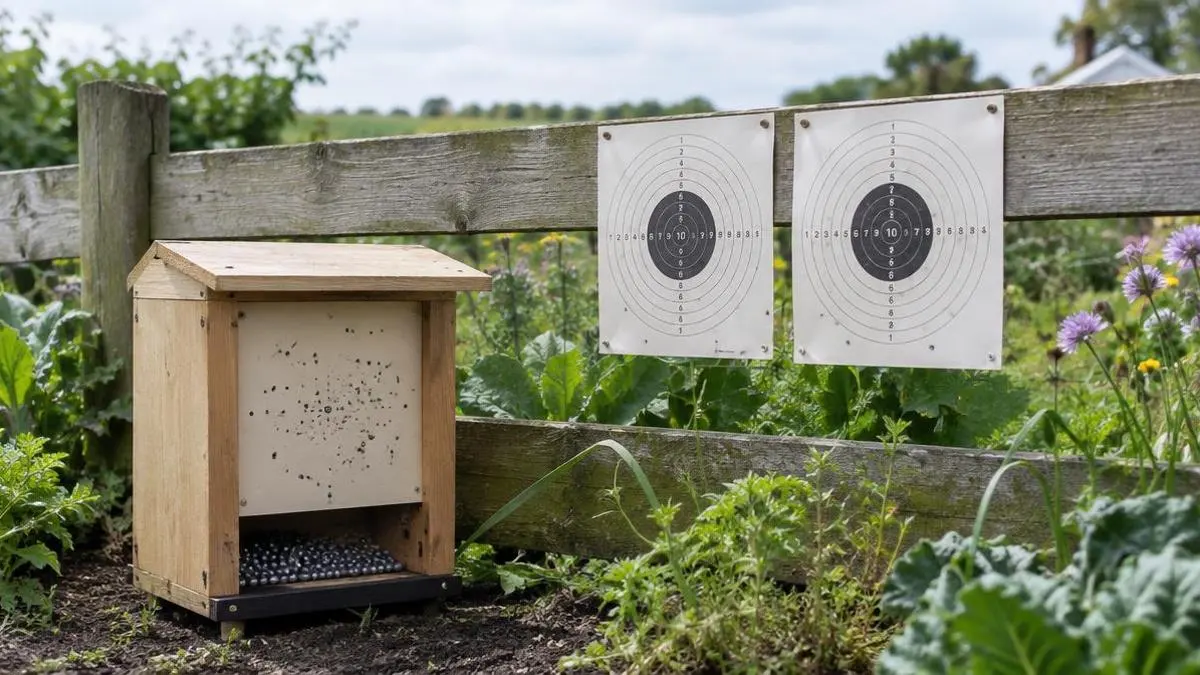
A home target area should control more than the pellet's first impact. It needs a clear firing direction, a dependable backstop, a way to contain damaged targets, and a plan for people, pets and property nearby. Good preparation makes target shooting easier to supervise and less likely to become an improvised session with uncertain boundaries. The safest setup is usually the one that is boring, visible and easy to check every time.
Start with the surroundings, not the target
Choose the shooting direction before choosing a stand, bench or target face. Walk the entire line from the muzzle to the intended impact point, then continue past it. Look for neighbouring homes, roads, paths, sheds, windows, fences, livestock areas and places where someone could appear without warning. A private yard can still have changing risks as people move through it or vegetation loses its leaves.
The target should sit where the firing line is easy to identify. Avoid setups that require shooting over a wall, through gaps in fencing or across an area used for ordinary household activity. Do not rely on a hedge, wooden fence or stack of loose garden materials to stop a pellet. These may conceal a hazard without reliably containing an impact.
Local rules may restrict where airguns can be used, even on private property. Check current local requirements and any applicable property or community rules before setting up. Manufacturer instructions also take priority for the airgun, pellets and target equipment.
Choose a backstop that contains mistakes
A paper target gives you an aiming point; the backstop provides the safety margin. Position it directly behind the target and size it to account for imperfect shots, damaged target material and ordinary changes in aim. The ground and surroundings behind it still matter: a backstop is not a substitute for checking what lies beyond the shooting area.
The right choice depends on the airgun's instructions, the pellets being used and the space available. A purpose-built pellet trap can be convenient because it is designed to collect or redirect pellets in a controlled way. Some traps are intended for particular target types or power levels, so read their instructions rather than assuming that any metal box is suitable. A trap showing dents, cracks, loose fasteners or an unusual impact mark should be taken out of service until assessed according to the maker's guidance.
A large, dense natural bank can sometimes provide useful containment when it is on the shooter's property and has no hidden structures, rocks or public access behind it. Soil conditions can change, and erosion can create gaps or expose hard material. Inspect it before use and after severe weather. Never treat a thin board, sheet-metal panel or hard wall as a safe stopping surface; pellets can ricochet or fragment from hard materials.
Fit the target and trap together
The target face should be held securely and sit squarely in front of the trap or other approved backstop. If it hangs loose, a pellet can strike at an angle, tear the paper and reach an unintended surface. Keep the target material flat and replace it when heavily damaged. A clean aiming point is easier to see and makes it less tempting to continue using a setup that is difficult to inspect.
Check that staples, clips, target frames and supports are not exposed in the expected impact zone. Metal parts near the target can cause unpredictable deflection, especially when they are not part of a trap designed for the airgun being used. Keep the firing line aligned with the centre of the containment area rather than shooting across the face of a trap.
Place the trap on a stable surface. If it tilts, moves or falls when struck, stop using it and correct the support before continuing. Remove spare targets, loose pellets and discarded paper from the line so that a quick inspection is possible.
Make the firing line easy to control
A safe target area needs a clear place for the shooter to stand or sit, a safe muzzle direction and enough room to handle the airgun without sweeping other people. Keep it pointed towards the target and backstop whenever it is loaded or being handled. Load only when the shooter is ready and the area is confirmed clear, following the specific safety procedure in the owner's manual.
Use one person to supervise a session when beginners or younger shooters are involved. Everyone nearby should know when shooting is active and when they may approach the target. Establish a simple stop signal that means all shooting ends immediately. No one should walk forward to check targets until every airgun is unloaded, made safe according to its instructions and placed where it cannot be handled accidentally.
Short sessions still need the same control of the muzzle, firing line and surrounding area. Pellet gun safety does not depend on the session feeling informal.
Keep equipment, light and weather in the plan
Set the target where it can be seen clearly without forcing the shooter to aim towards glare, deep shadow or a reflective surface. Avoid shooting at dawn, dusk or in poor visibility if you cannot confirm the target and the full area behind it. Changing light can make a damaged trap, stray object or person harder to notice.
Wind can move paper targets and loose supports. Rain can soften cardboard, damage target material and alter the stability of a stand. After bad weather, inspect the supports, trap, target face and area behind them before shooting again. If the setup has shifted, do not compensate by changing aim; restore the arrangement first.
Store pellets, targets and tools away from the firing line so that nobody needs to cross in front of the muzzle during a session. Keep the airgun secured when it is not in use, and prevent unauthorised access to both the equipment and the target area. Handle pellets as ammunition for the airgun, not as objects to scatter on a bench or leave where children and pets can reach them.
Before each session, run this short check:
– Is the firing direction clear, and has the area beyond the backstop been checked?
– Is the trap or backstop suitable, stable and free from damage?
– Is the target held flat without exposed hard parts in the impact zone?
– Are people, pets and other activities kept out of the line of fire?
– Is the light good enough to see the target and containment area clearly?
– Can shooting stop immediately if someone approaches or conditions change?
A reliable safe target area is not defined by how elaborate it looks. It is defined by whether the shooter can explain where every pellet is expected to go and what happens if the shot misses the paper. Build around that question, inspect the setup routinely, and stop whenever the answer becomes uncertain.